I play a lot of
Wargods of Aegyptus It's a fun game with excellently sculpted miniatures, a very nice game engine and a fun background based on Egyptian mythology.
Anyway, building terrain is one of my favorite things and what is more egyptian than a pyramid!
HOW TO MAKE A PYRAMIDWhat you need : Materials- Foamcore
- A4 sticky lable paper
- Something solid to base the model, such as 3mm MDF or thin plywood or masonite. The minimum base size is 250mm square.
- Texture paint
- PVA glue
- Gold foil
- Masking tape
- Polystyrene foam and any parts you want to use for an interior.
Tools- The Pyramid Side PDF file at My little PDF site
- Sharp knife
- A ball point pen or similar for scribing blockwork
- A ruler
- A small square food container.
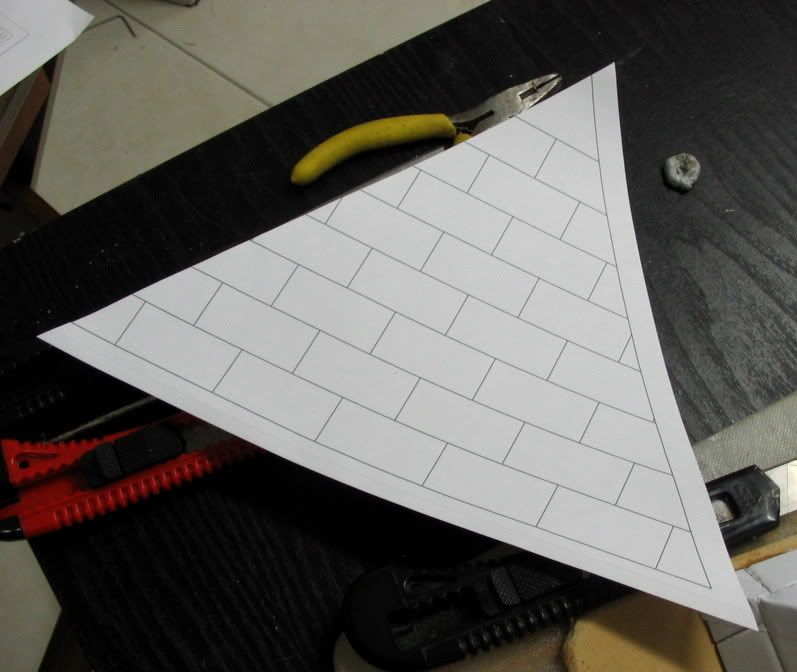
Print out four copies of the pyramid side template on sticky lable paper
Trim the printouts, such that one side is cut level with the edge and the other has about 10mm on the edge. The base can be left alone or trimmed as desired. The reason for the 10mm overlap is to reinforce the bend line.

Reduced: 85% of original size [ 797 x 672 ] - Click to view full image
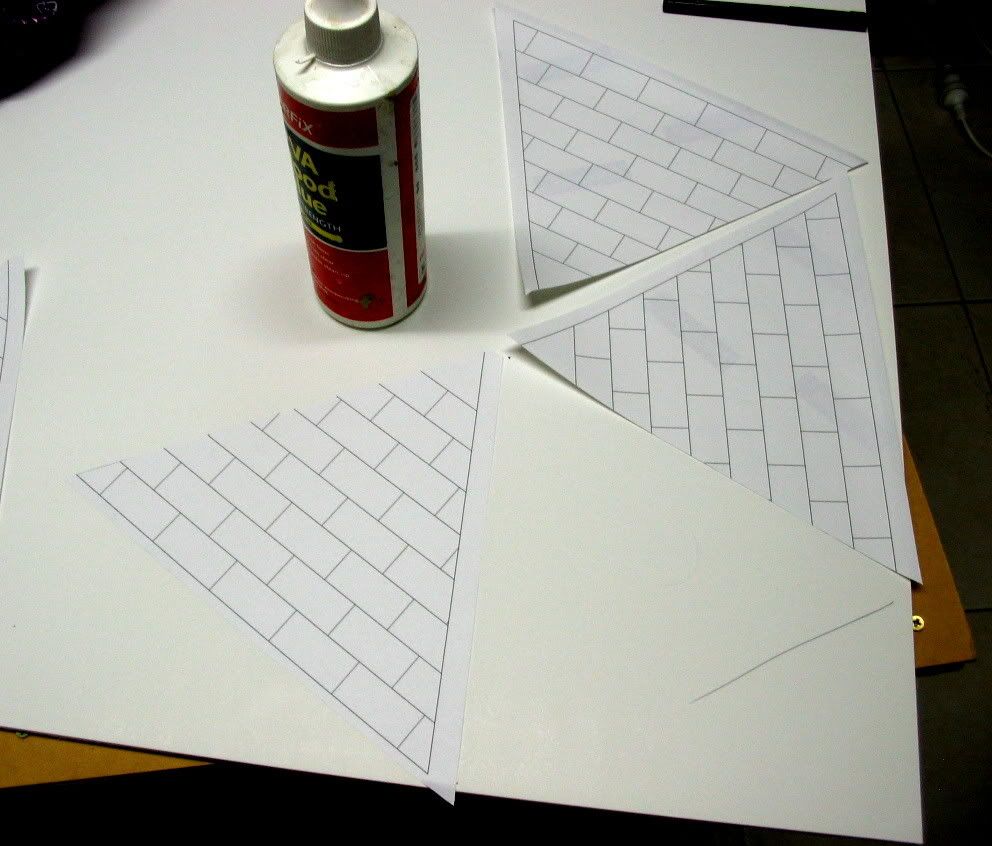
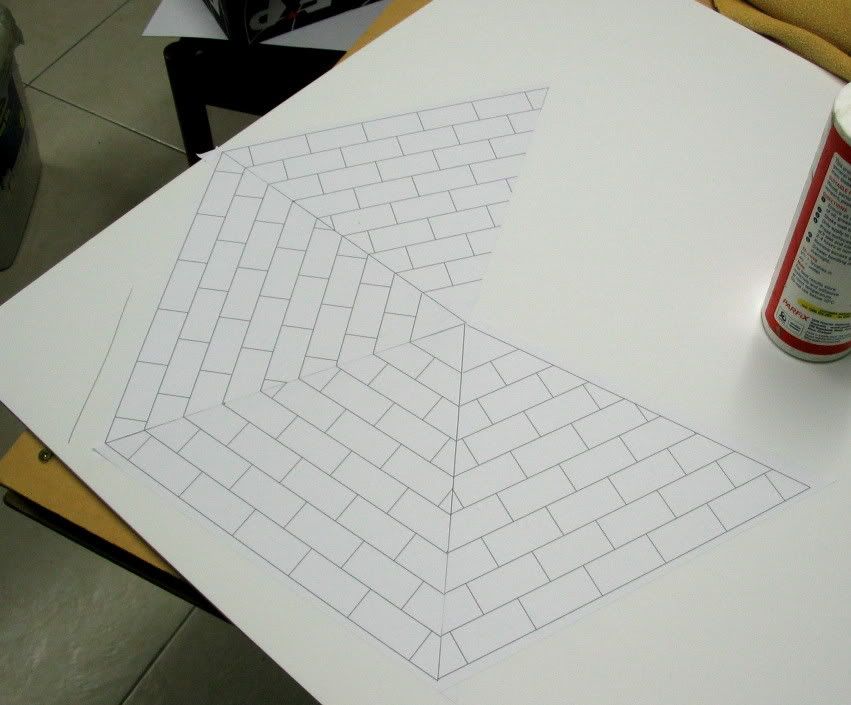
Stick down the printouts on your sheet of foamcard with the tops meeting in the centre. Make sure the overlap is under the next sheet along.
Reduced: 68% of original size [ 992 x 846 ] - Click to view full image
Reduced: 79% of original size [ 851 x 705 ] - Click to view full image
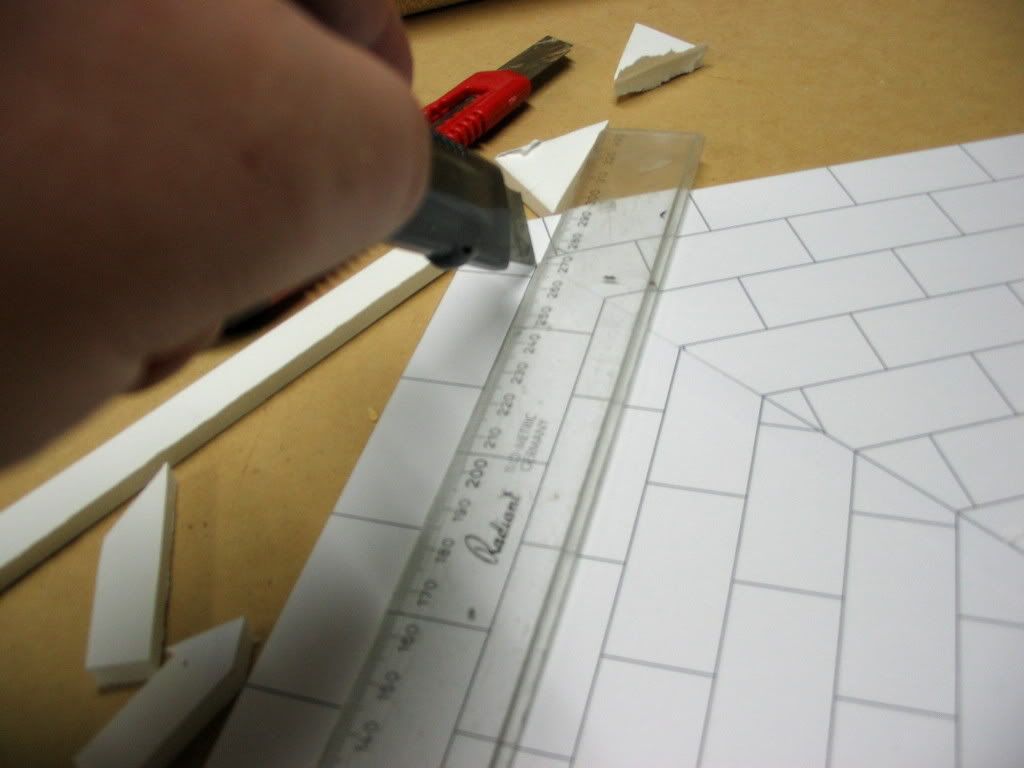
Cut out your pyramid blank.
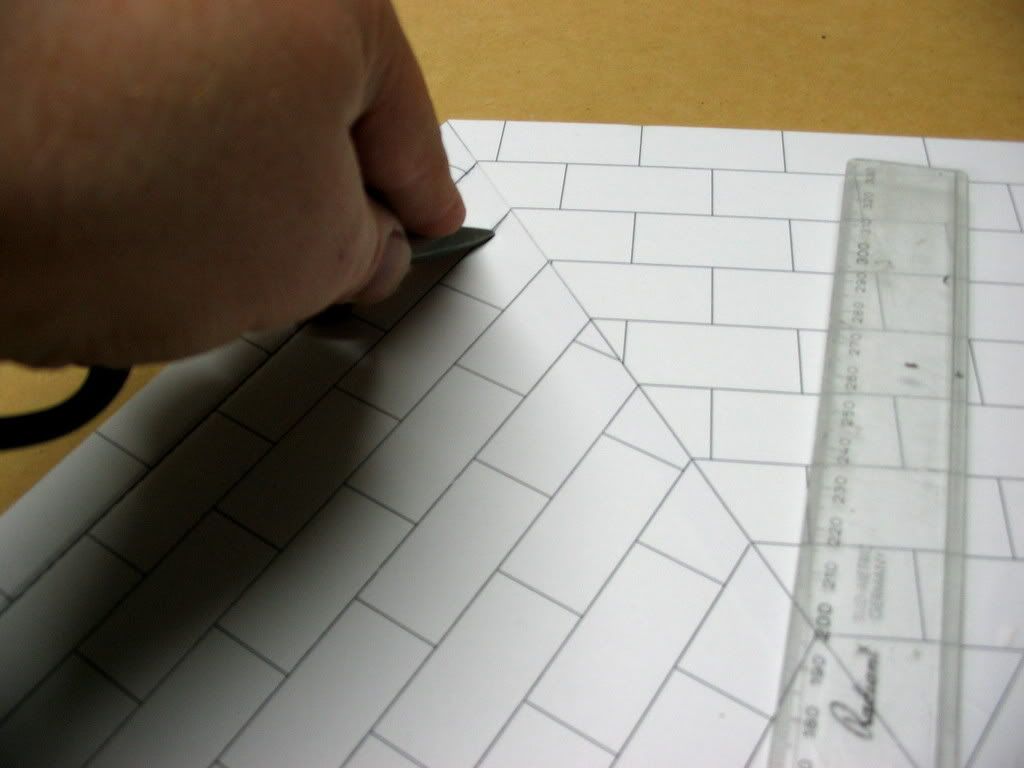
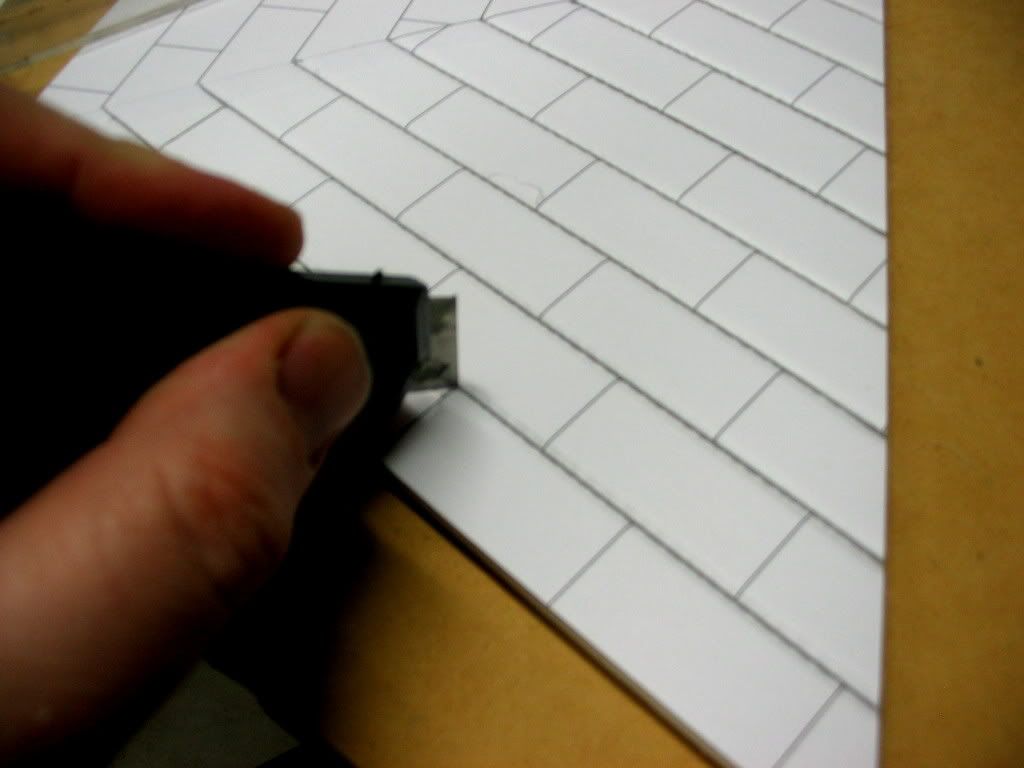
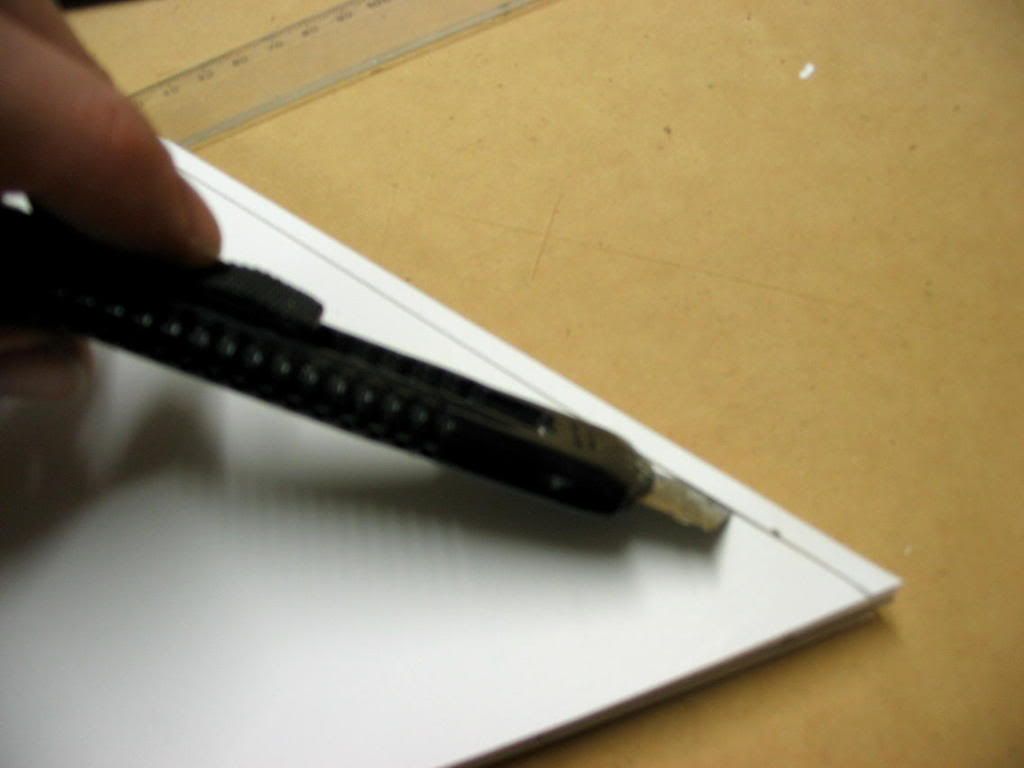
Score the blockwork.
The procedure is to lightly cut through the outer layer of card and then run something like a ballpoint pen along the cut to indent the foam.
Cut and score the horizontal lines before cutting and scoring the vertical lines.
Reduced: 66% of original size [ 1024 x 768 ] - Click to view full image
Reduced: 66% of original size [ 1024 x 768 ] - Click to view full image
Reduced: 66% of original size [ 1024 x 768 ] - Click to view full image
Reduced: 66% of original size [ 1024 x 768 ] - Click to view full image
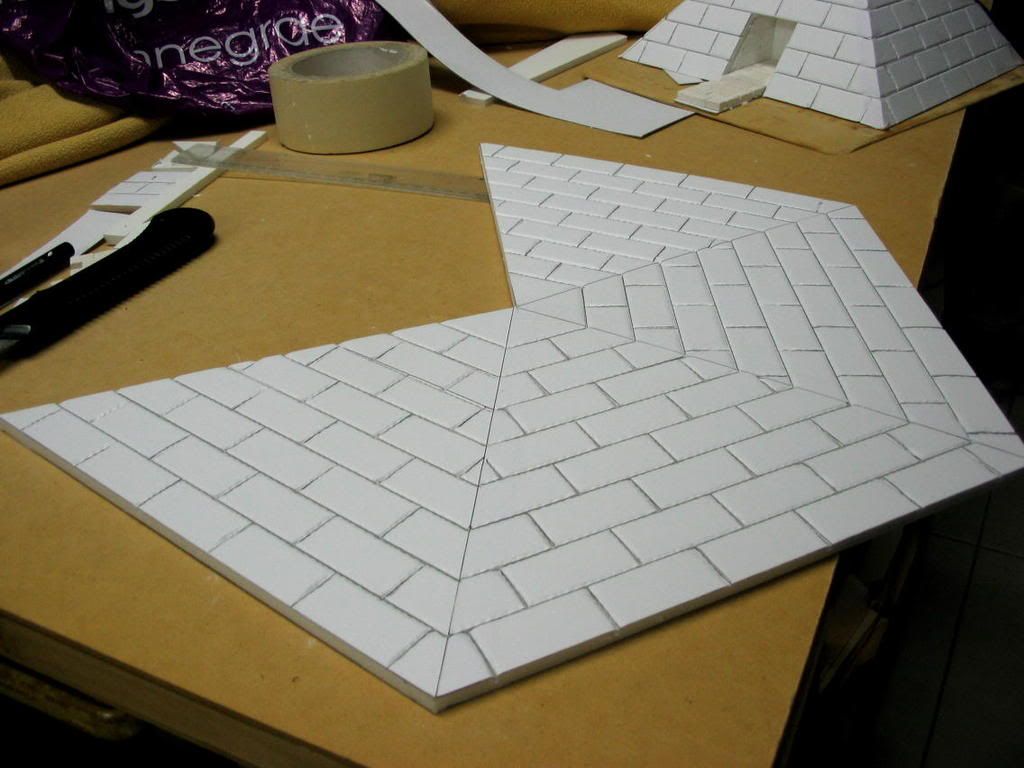
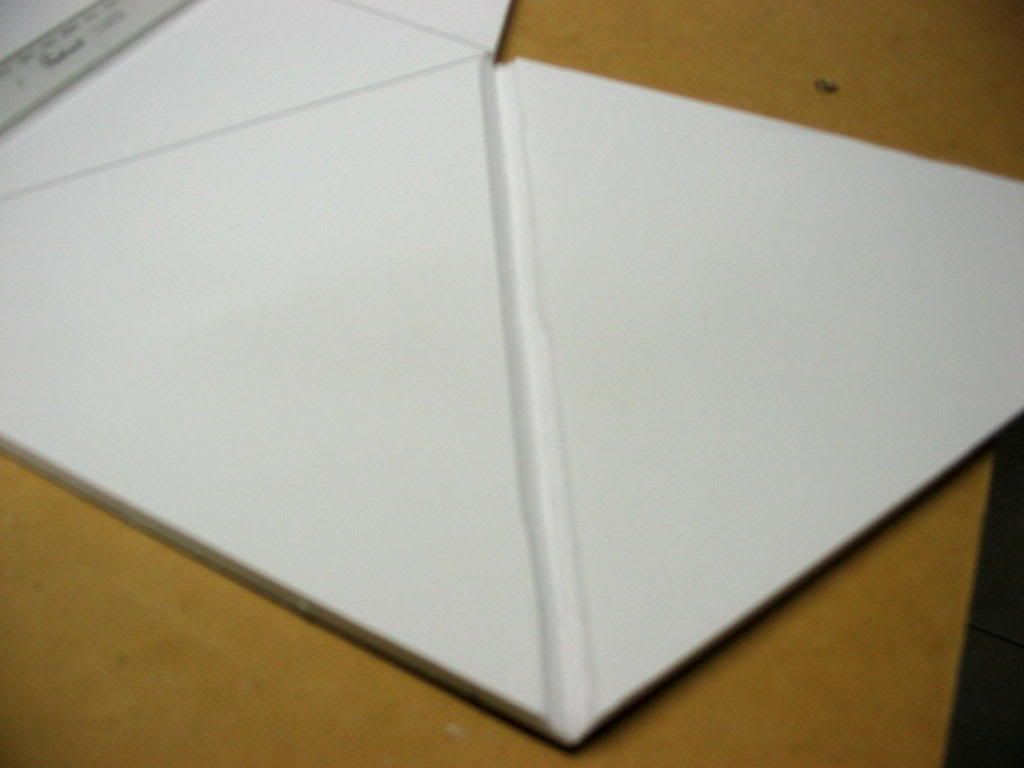
Mark the main fold lines on the underside.
Flip over and cut through the foamcard most of the way through on the main fold lines. You want to cut through the inner layer of card and the foam, but not through the outside layer of card.
Reduced: 66% of original size [ 1024 x 768 ] - Click to view full image
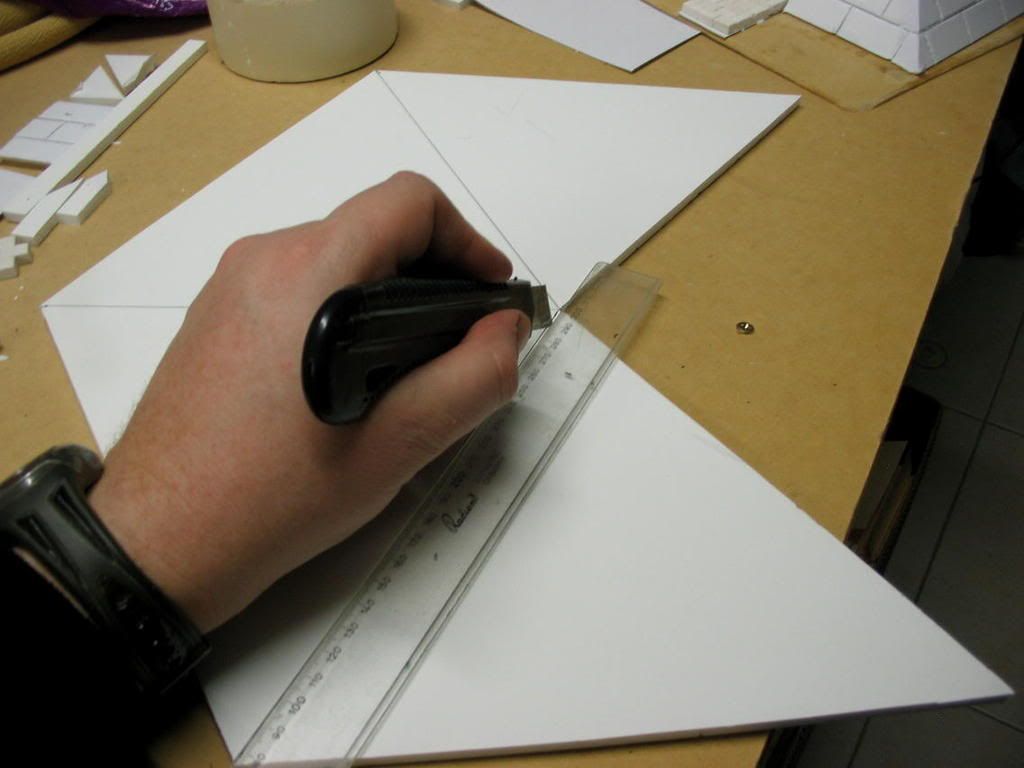
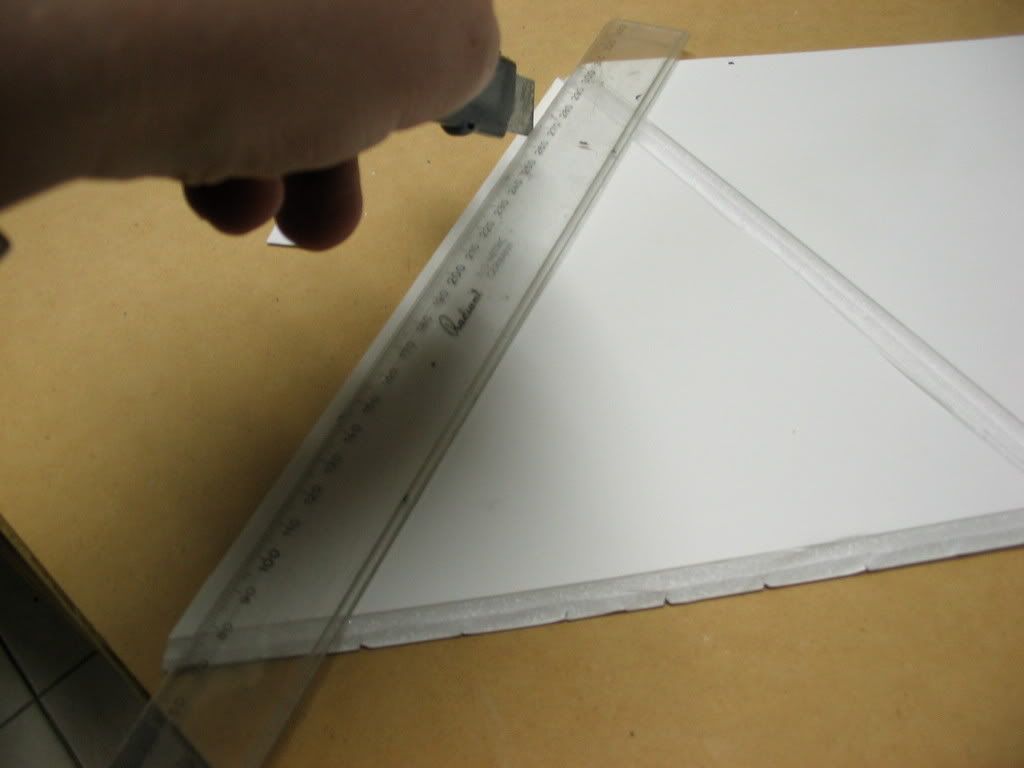
On each side of this cut and at each of the bare edges, mark a line 4mm away and cut through the inner layer of card.
Fold the main cut back on itself and cut a 4mm bevel on each side of the main fold line. This will allow the pyramid to fold up.
Reduced: 66% of original size [ 1024 x 768 ] - Click to view full image
Reduced: 66% of original size [ 1024 x 768 ] - Click to view full image
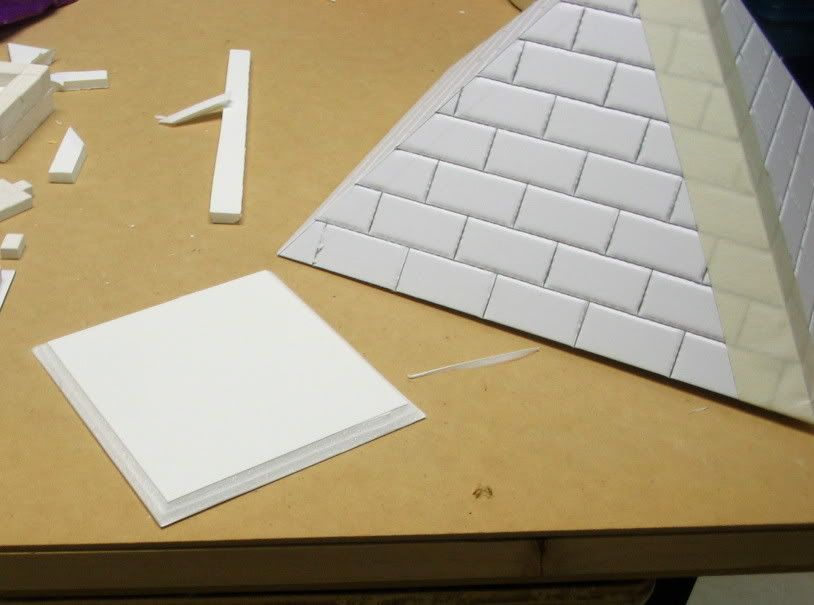
Similarly, cut a 4mm bevel along the bottom edge so that the pyramid will sit flat.
Reduced: 66% of original size [ 1024 x 768 ] - Click to view full image
Cut a square approximately 80mm on each side from scrap and bevel the edges as above. It is important to get this square as it will hold the whole pyramid square and reinforce it.
Reduced: 83% of original size [ 814 x 605 ] - Click to view full image
Trial assemble the pyramid, folding it up and making sure everything fits.
Take a length of masking tape and run it through your hands a few times to take some of the 'sticky' off.
Run a bead of glue down each fold line and use the masking tape to assemble the pyramid.
Reduced: 73% of original size [ 926 x 666 ] - Click to view full image

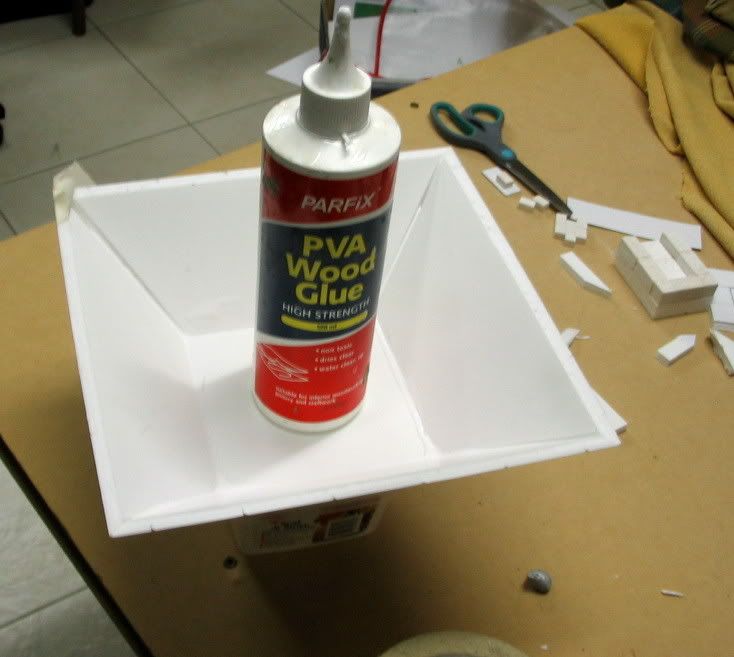
I have found putting the pyramid into a square food container point down works well for allowing it to dry
Reduced: 66% of original size [ 1024 x 768 ] - Click to view full image

Glue the edges of the bevelled square into the pyramid and put something heavy-ish in to hold it in position.
Reduced: 66% of original size [ 1024 x 677 ] - Click to view full image

Reduced: 92% of original size [ 734 x 657 ] - Click to view full image
Allow the glue to dry.
At this point you need to decide if you want to do any interior for your pyramid. A lot depends on what parts you have available. You could do a large-ish chamber or a simple tunnel and indicate a shaft to an underground tomb. Whatever you do, you need to plan it now and assemble any parts needed onto the base
Glue pyramid down onto the baseplate.
Allow the glue to dry.
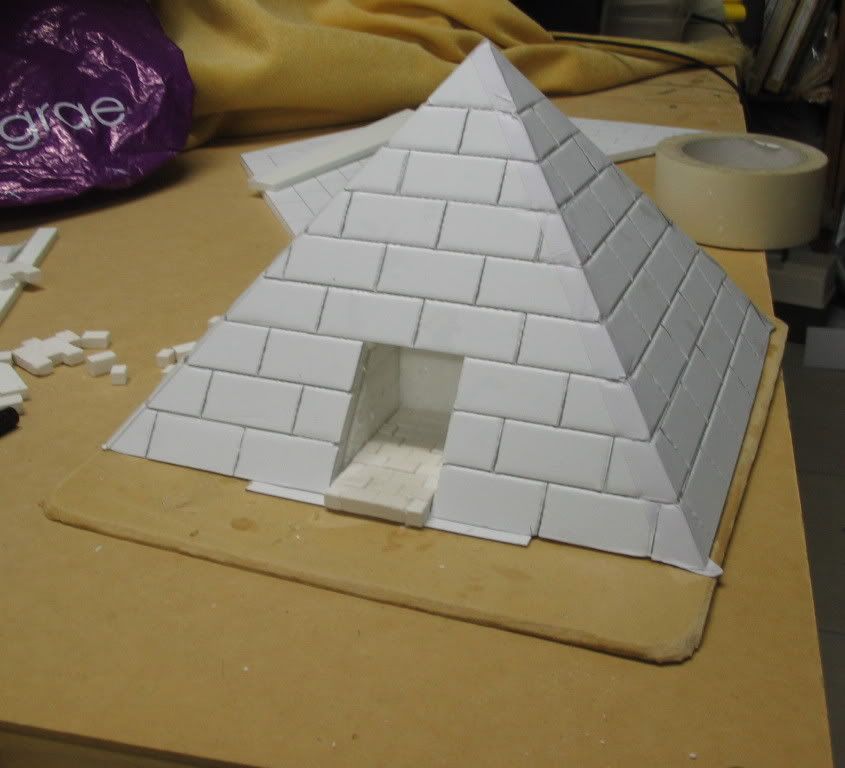
If you want to cut the top off the pyramid, I suggest cutting along the third or fourth horizontal line of blockwork.
Note : The entrance could be at ground level or could be above ground level.
Reduced: 80% of original size [ 845 x 768 ] - Click to view full image
Painting :
Paint with texture paint. This has the effect of also smoothing out somewhat the scored lines for the blockwork.
Then paint or drybrush or whatever to suit your other terrain
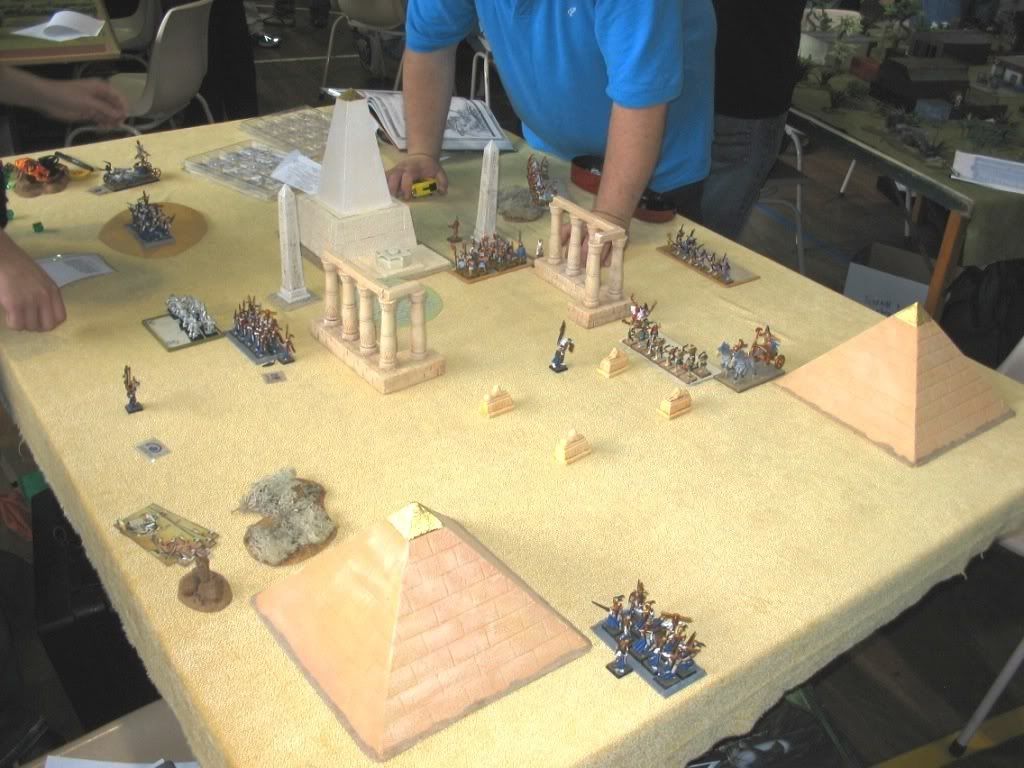
Here are some completed pyramids in use...

 all practical purposes complete : an old blue sheet, blue cellophane stickey-taped together to form a complete sheet and then crumpled up, and islands.
 The Shards of the Sun
 And their terrifying guardian
